
Decluttering your home can feel overwhelming, especially if you’ve been putting it off for a long time. However, when done properly, it can be one of the most rewarding tasks you undertake. A clutter-free home not only makes your living space more inviting but can also improve your mental health, reduce stress, and help you become more productive.
The good news is that you don’t need to tackle everything at once. By breaking the decluttering process into manageable steps, you can make it an achievable goal. In this blog, we’ll guide you through seven simple steps to declutter your home and transform your space into an organized, peaceful sanctuary.
Step 1: Start with a Clear Vision
Before diving into the physical work of decluttering, it’s essential to define what you want to achieve. Take a moment to think about the outcome. Do you want to create more space in your living room? Make your kitchen more functional? Or maybe you’re hoping to simplify your closet? Having a clear vision of what you want your home to look like will help you stay focused throughout the decluttering process.
Write down your goals for each room, such as “create a peaceful reading nook” or “organize my home office for productivity.” Keep these goals in mind as you go through each step. This vision will keep you motivated when the process starts to feel overwhelming.
Step 2: Tackle One Area at a Time
Trying to declutter your entire house in one go is a surefire way to burn out quickly. Instead, break the task down into manageable chunks. Start with a small area like a single room, or even a specific part of a room—such as a closet, a drawer, or a countertop.
Focusing on one area at a time not only makes the task less daunting but also gives you a sense of accomplishment once it’s completed. As you finish one small section, you’ll build momentum and feel motivated to move on to the next.
Step 3: Use the Four-Box Method
One of the most effective methods for sorting through your belongings is the “Four-Box Method.” This approach helps you make quick decisions about what to keep, what to throw away, what to donate, and what to sell. Here’s how it works:
- Keep: Items that are essential or have a sentimental value.
- Donate: Items that are in good condition but no longer serve a purpose for you.
- Sell: Things that are valuable or useful but no longer needed, like electronics, books, or furniture.
- Trash: Items that are broken, worn out, or no longer functional.
As you sort through your belongings, make sure you are decisive. Ask yourself: “When was the last time I used this?” and “Does this item add value to my life?” If the answer is no, it’s time to part ways with it.
Step 4: Declutter Your Closets First
Closets tend to be one of the most cluttered areas in a home, especially if they serve as a catch-all for things you don’t know where to store. Start by going through your closet and organizing clothes, shoes, and accessories.
Here are a few tips to make closet decluttering easier:
- Purge items you haven’t worn in a year: If you haven’t worn something in the past year, there’s a good chance you never will. Donate or sell these items to create more space in your closet.
- Use storage bins: Store out-of-season clothes in bins or under-the-bed storage to keep them out of sight until you need them.
- Create a “one in, one out” rule: For every new item you buy, get rid of an old one. This will help prevent clutter from piling up in the future.
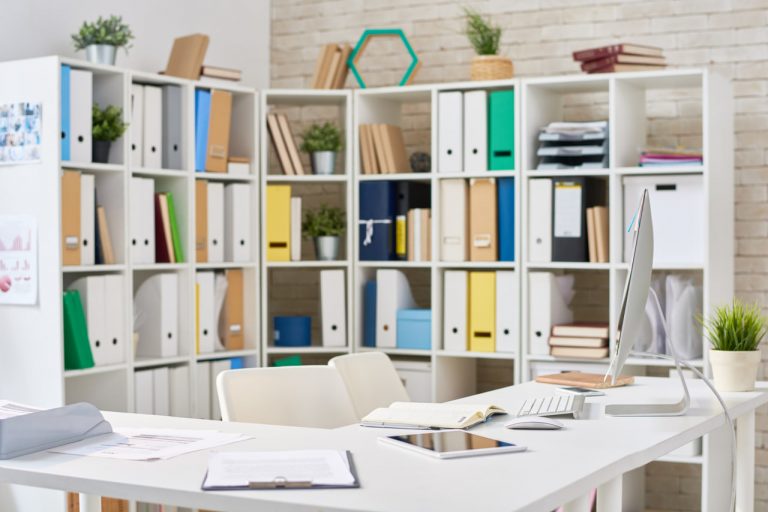
Step 5: Organize Paper Clutter
Paper clutter can accumulate quickly—bills, receipts, magazines, important documents, and old school papers can all create a mountain of mess. To tackle this, start by setting up a filing system.
Here’s how you can organize paper clutter:
- Sort through your papers: Separate them into categories like “To-Do,” “Important,” and “Trash.”
- Shred unnecessary paperwork: Shred old bills, statements, and personal documents you no longer need.
- Create a filing system: Use file folders, binders, or a filing cabinet to organize documents by category (e.g., “Taxes,” “Medical,” “Receipts,” etc.).
- Go paperless: Whenever possible, switch to electronic statements or invoices to reduce future paper buildup.
A well-organized filing system will make it easier to find documents when needed and help you stay on top of important paperwork.
Step 6: Create Daily and Weekly Routines
Decluttering your home is not a one-time task—it’s about developing new habits that help maintain order. Set up a daily or weekly cleaning and decluttering routine to keep your home organized in the long term.
- Daily tasks: Spend 10-15 minutes each day tidying up high-traffic areas like the kitchen, living room, or bathroom. This prevents clutter from piling up and makes it easier to maintain a clean space.
- Weekly tasks: Dedicate a bit of time each week to tackle tasks like wiping down surfaces, vacuuming, or organizing drawers. This keeps everything looking fresh without overwhelming yourself.
By creating a habit of tidying up, you’ll avoid the stress of a major declutter every few months.
Step 7: Celebrate Your Success
Once you’ve decluttered and organized your home, take a moment to appreciate the work you’ve done. Look around and notice how much lighter and calmer your space feels. The effort you’ve put into decluttering is well worth it!
To maintain your organized space, celebrate your success by setting new goals, such as:
- Continuing the decluttering process in other areas: Now that you’ve decluttered your home, you can focus on other parts, such as organizing your digital life, creating a system for your garage, or redesigning your home office.
- Setting up a maintenance routine: Commit to regular tidying sessions so your space doesn’t become overwhelming again.